
GARAGE DOOR SERVICE CALL
GARAGE DOOR SERVICE CALL IN CINCINNATI, OH
Photo-eye sensors belong no higher than 6 inches off the floor, per LiftMaster and UL 325 guidance, and a bumped bracket or low winter sun hitting a lens is one of the most common reasons a door refuses to close. At Welcome Home Garage Doors, we send a technician to find causes like that. This page explains our garage door service call in Cincinnati, OH: what gets inspected, how the estimate works, and what happens next. Parts ride on every truck.
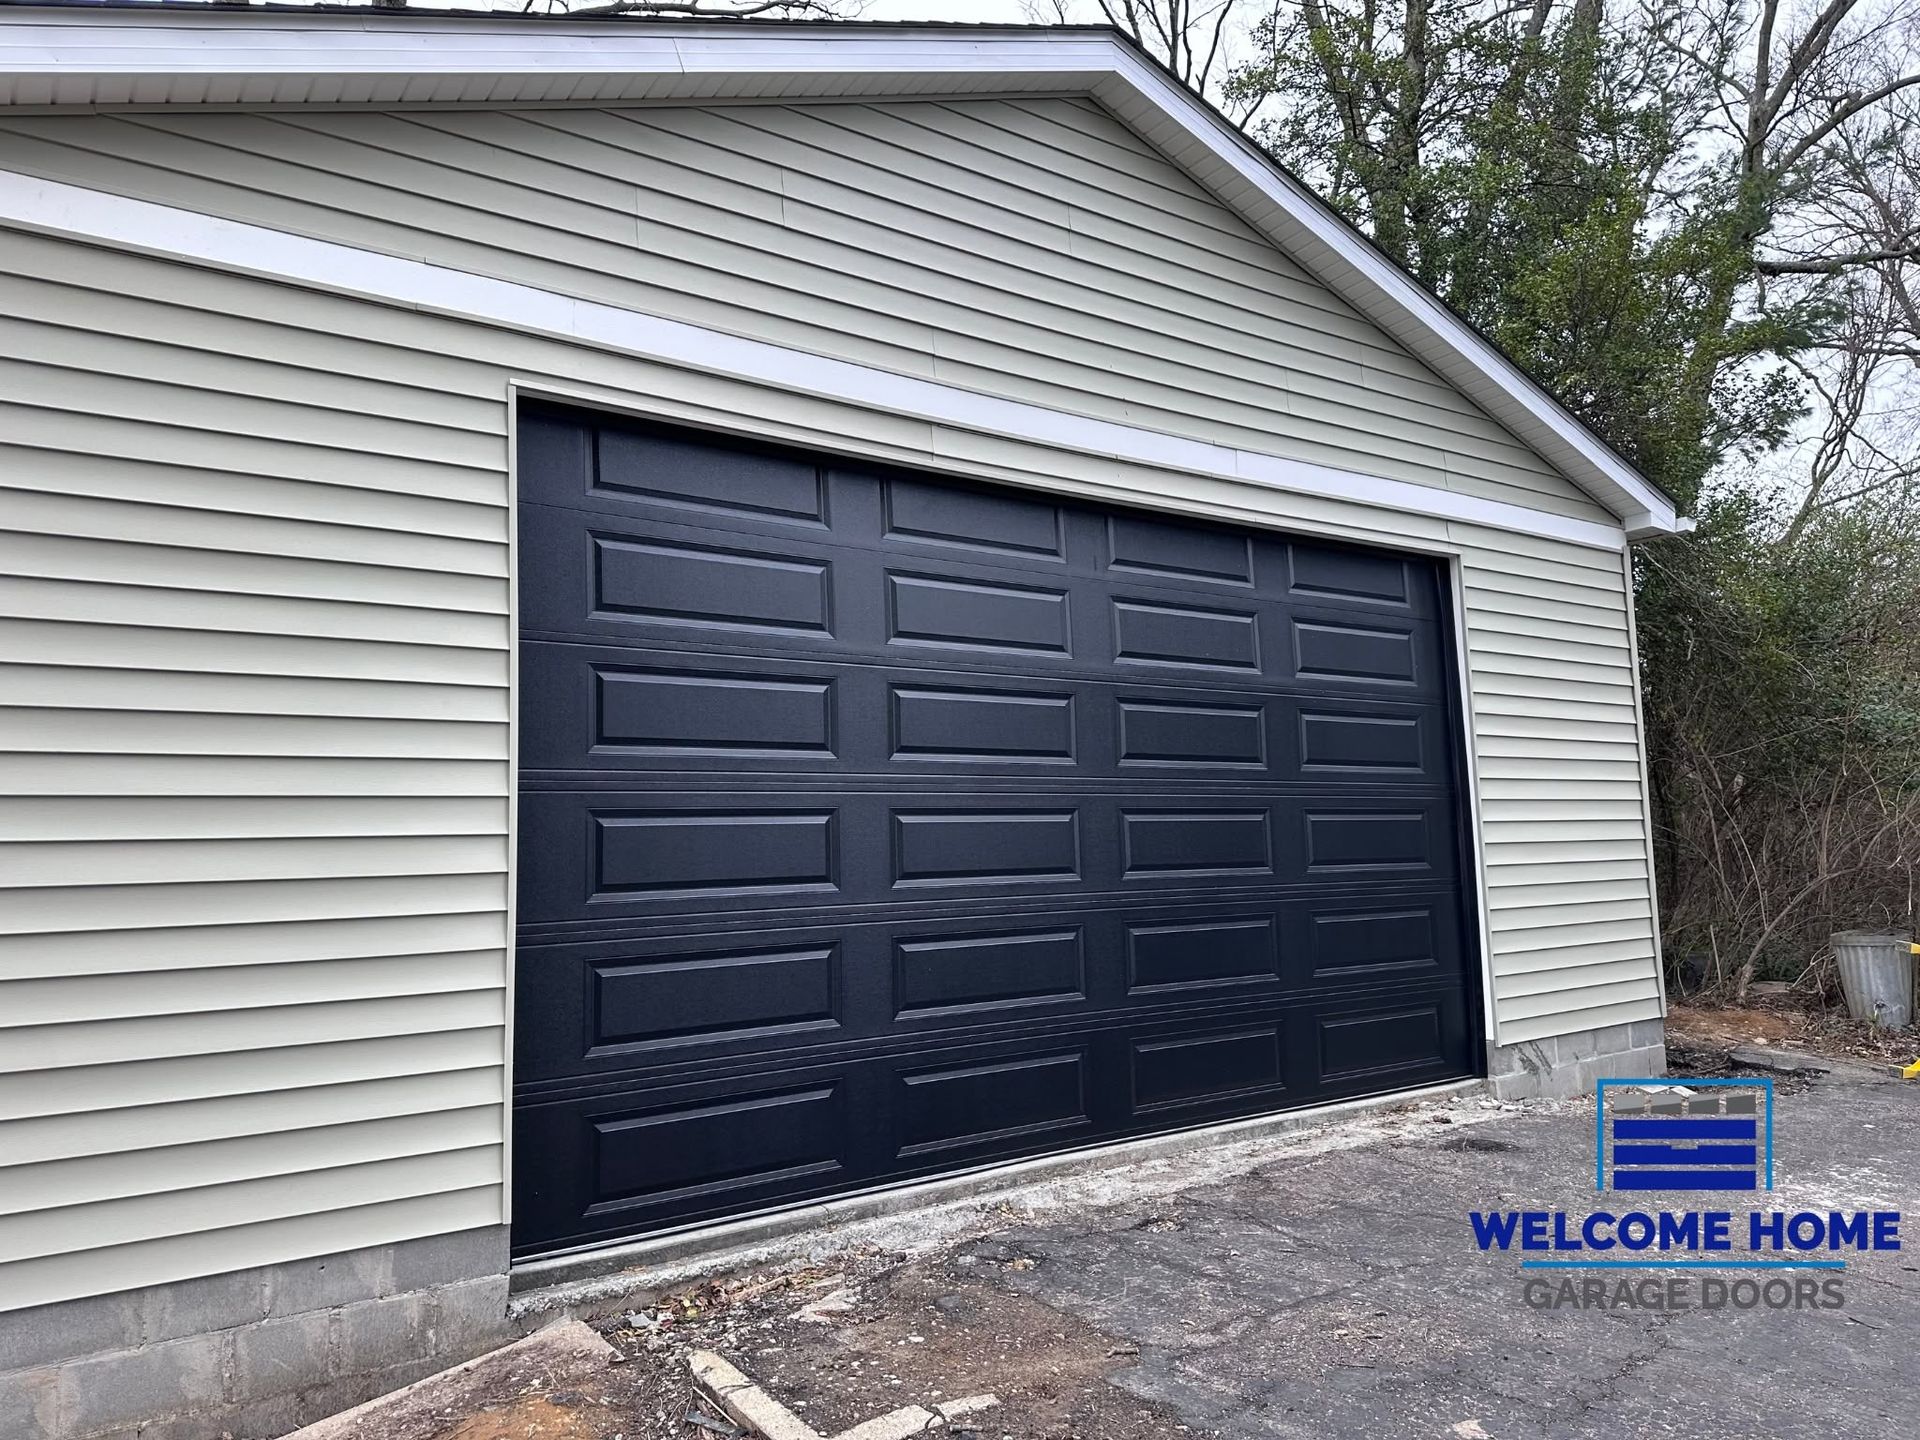
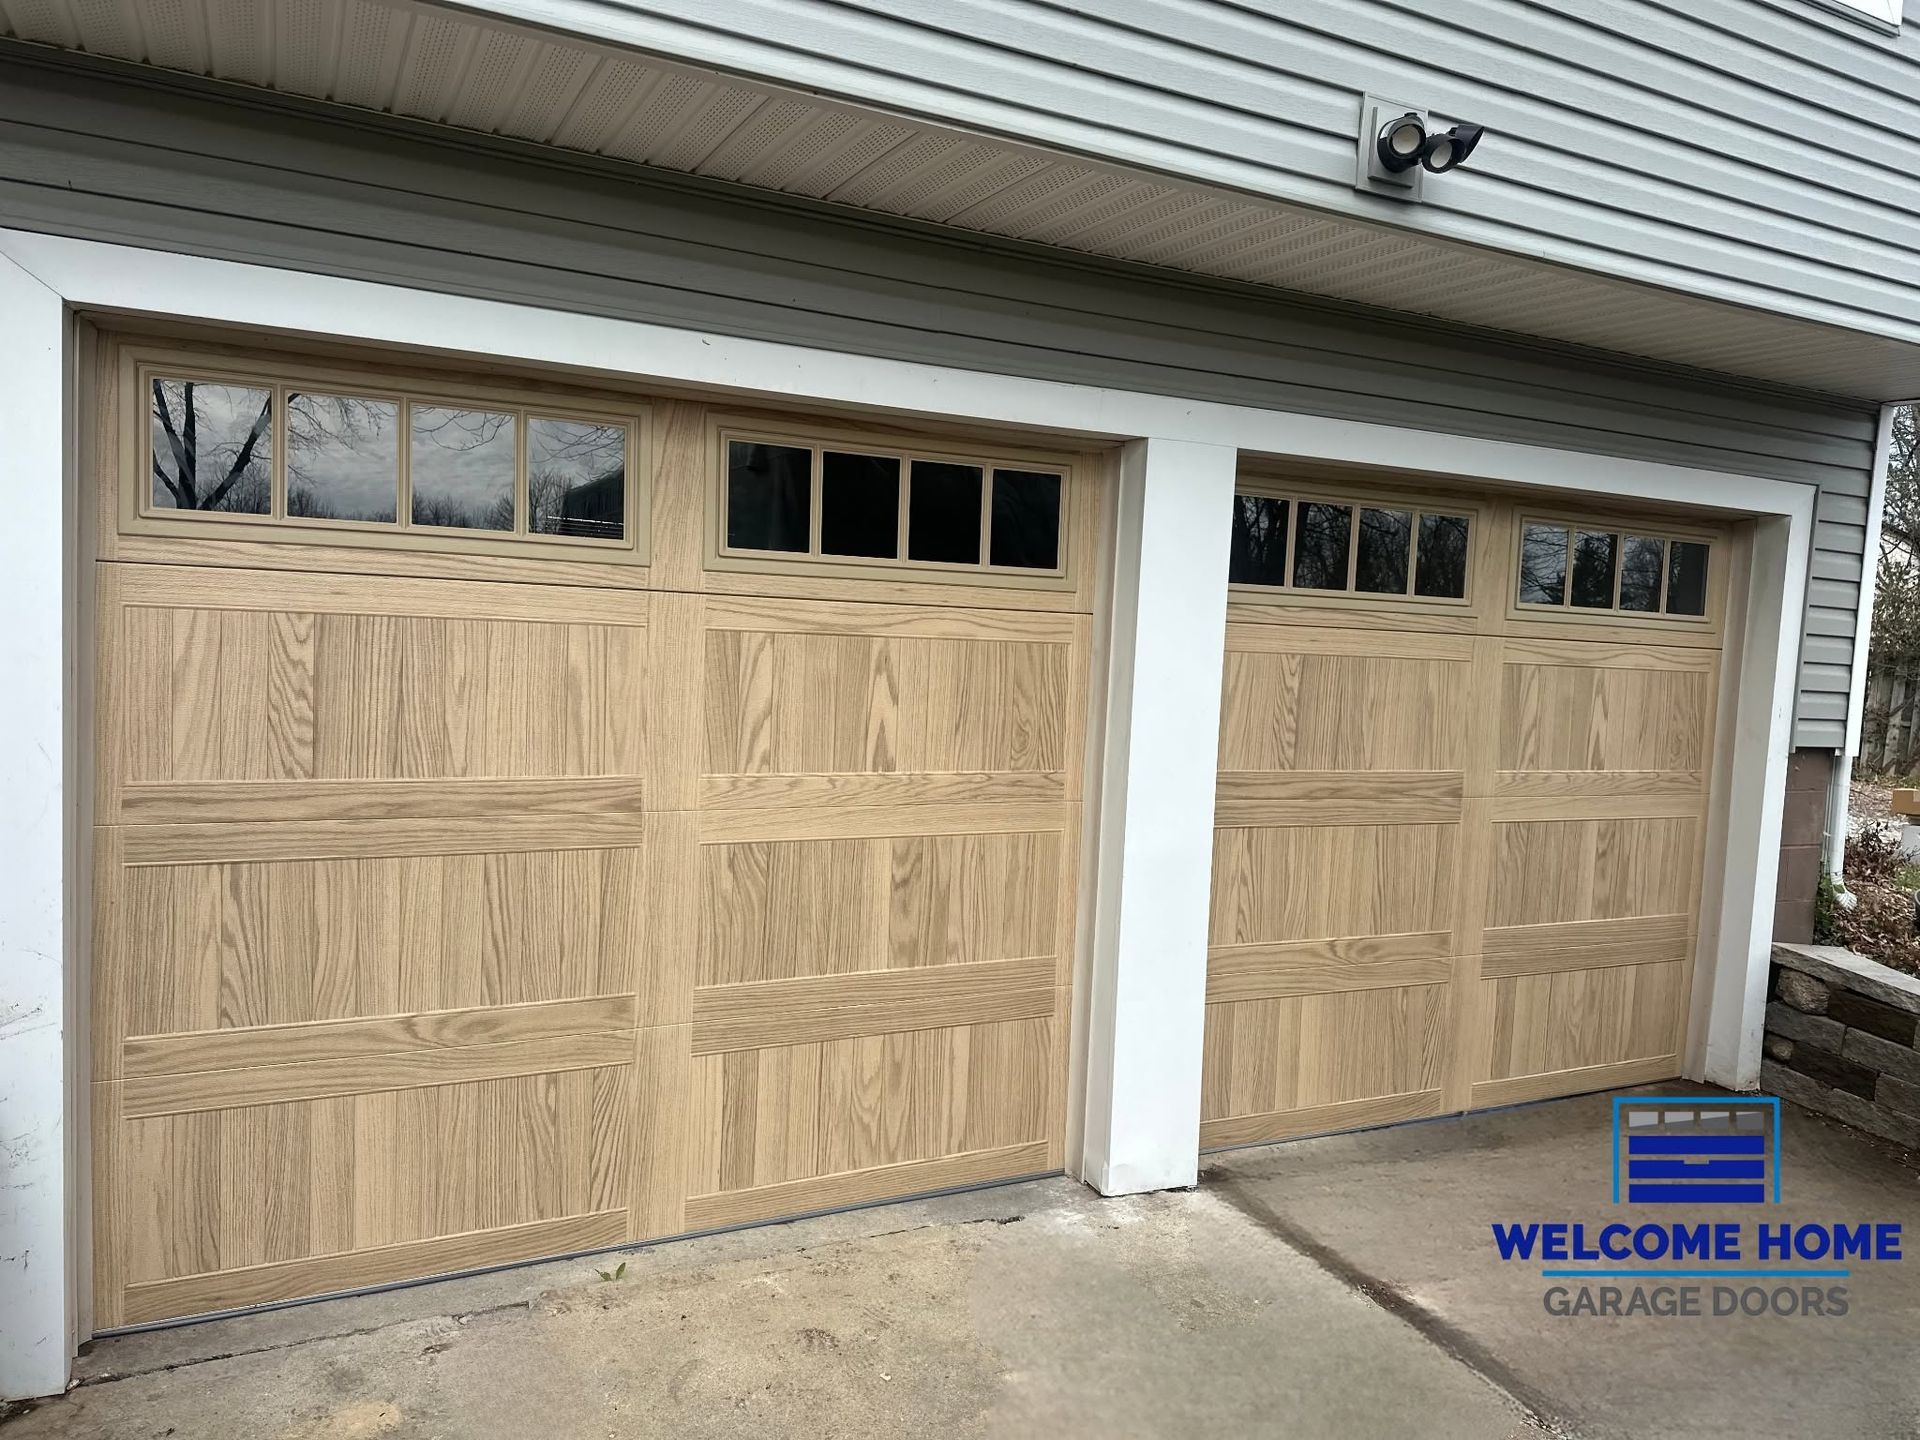
YOU DESCRIBE THE PROBLEM. WE BRING THE PARTS.
Tell us the door clunks at the top, reverses at the bottom, or ignores the remote. That description shapes what goes on the truck before we pull out of the lot. Sensors, rollers, cables, weather seals, and common opener components travel with the technician, so a diagnosis at your door can turn into a finished repair the same afternoon.
Our service call is a paid visit, and it earns its keep. It bundles inspection, diagnosis, and an estimate for the repair, so you know exactly what is wrong before anything else happens.
- Symptoms matched to stocked parts
- Diagnosis explained in plain words
- Estimate handed over on site
- Nothing replaced without your approval
SERVICE CALL
A STRAIGHT ANSWER BEFORE ANY WORK STARTS.
Guessing is expensive. Swap the wrong part and the door still stalls, only now you have paid twice. We test before we replace. We run the door through a full cycle, watch how the opener responds, check sensor alignment, and feel the balance by hand. Only then do you hear what is failing, why it failed, and what the fix involves. Nothing happens until you say yes.
BASED ON BEECHMONT AVENUE, NOT IN A CALL CENTER.
Your request reaches people who live and work on the east side of town, not a scripted dispatcher somewhere else. From Beechmont Avenue, we reach Mount Orab, Loveland, Mason, Hamilton, and Middletown, then cross to Union, Burlington, Cold Spring, and Lawrenceburg, IN. That familiarity matters here: salt-crusted brackets, sensors nudged out of line by frost heave, and alley garages where damp air corrodes cables faster than anyone expects.
PLAIN LANGUAGE IS PART OF THE REPAIR.
Jargon does not help anyone decide. After 9+ years of explaining logic boards, drum cables, and safety eyes to homeowners, we have learned to skip the lecture and show you the worn part in our hand. When the work is done, our technician walks you through what changed and what to watch for. You leave understanding your own door. Would a straight explanation make your next decision easier?
WHY CHOOSE US FOR GARAGE DOOR SERVICE CALLS.
Diagnosis You Can Watch
Stand beside us during the inspection if you like. We point out the frayed strand, the flattened roller, or the loose sensor bracket as we find it, so the estimate makes sense before you ever read it.
Estimates Given Face to Face
Phone quotes on unseen doors are guesswork. We price the repair only after seeing it in person, which means the figure you approve reflects your actual door and its actual condition, not a script read over a headset.
A Stocked Van
Most service calls end with a working door because the parts came with us. Rollers, cables, sensors, springs, and seals sit on shelves in the van, sparing you a second appointment and another day off work.
No Work Without Approval
Everything hinges on your answer. If you want time to think, the estimate stays with you and nothing gets touched. If you say go, we start right away with the parts already on hand, and you never feel rushed.
Every Major Brand
Whatever badge sits on your door or opener, we can work on it. All major door brands come through our service calls, from builder-grade steel to older wood doors in historic neighborhoods with detached garages.
A Walkthrough at the End
Finished work gets explained, not just invoiced. Before leaving, we show you what was replaced, demonstrate the auto-reverse, and share simple habits, like a monthly 2x4 test, that keep the door healthy through every season.
WHAT WE DIAGNOSE
OUR SERVICE CALL WORK
Each service call follows the same sequence: inspect, explain, estimate, and then repair on your approval. These are the pieces of that visit and the fixes we handle most often while standing in your garage.
INSPECTION
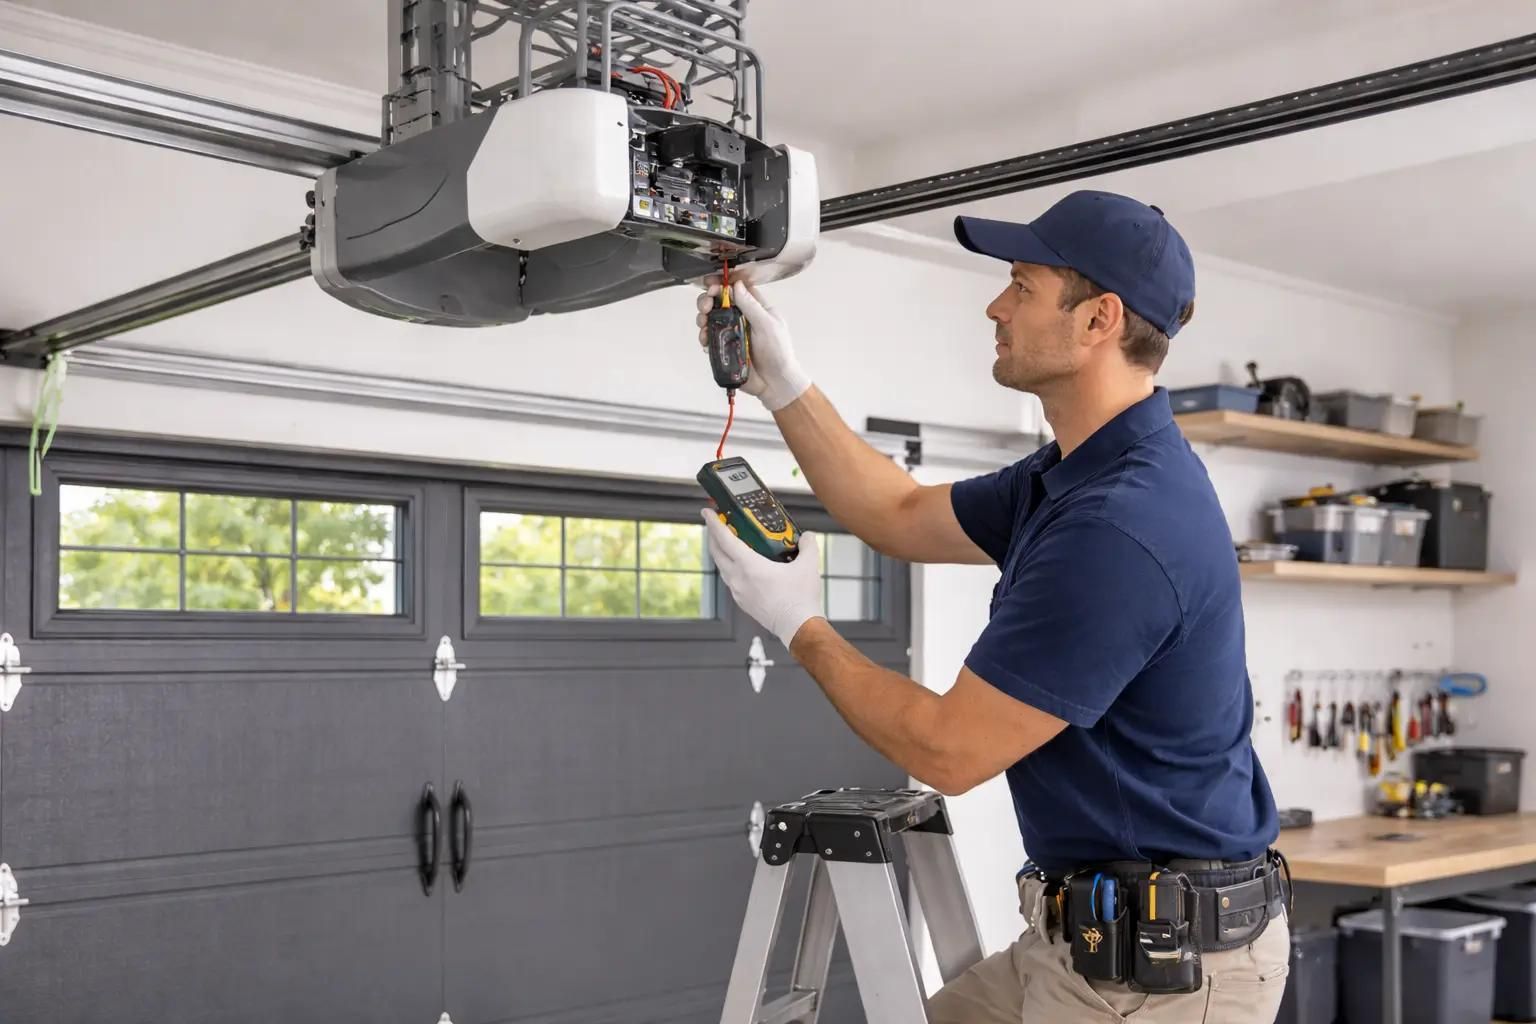
Door and Opener Inspection
Springs, cables, drums, rollers, hinges, and tracks get checked alongside the opener's motor, drive, travel limits, and force settings. Watching the door move under power reveals binding and imbalance that a glance at a closed door would miss.
ESTIMATE
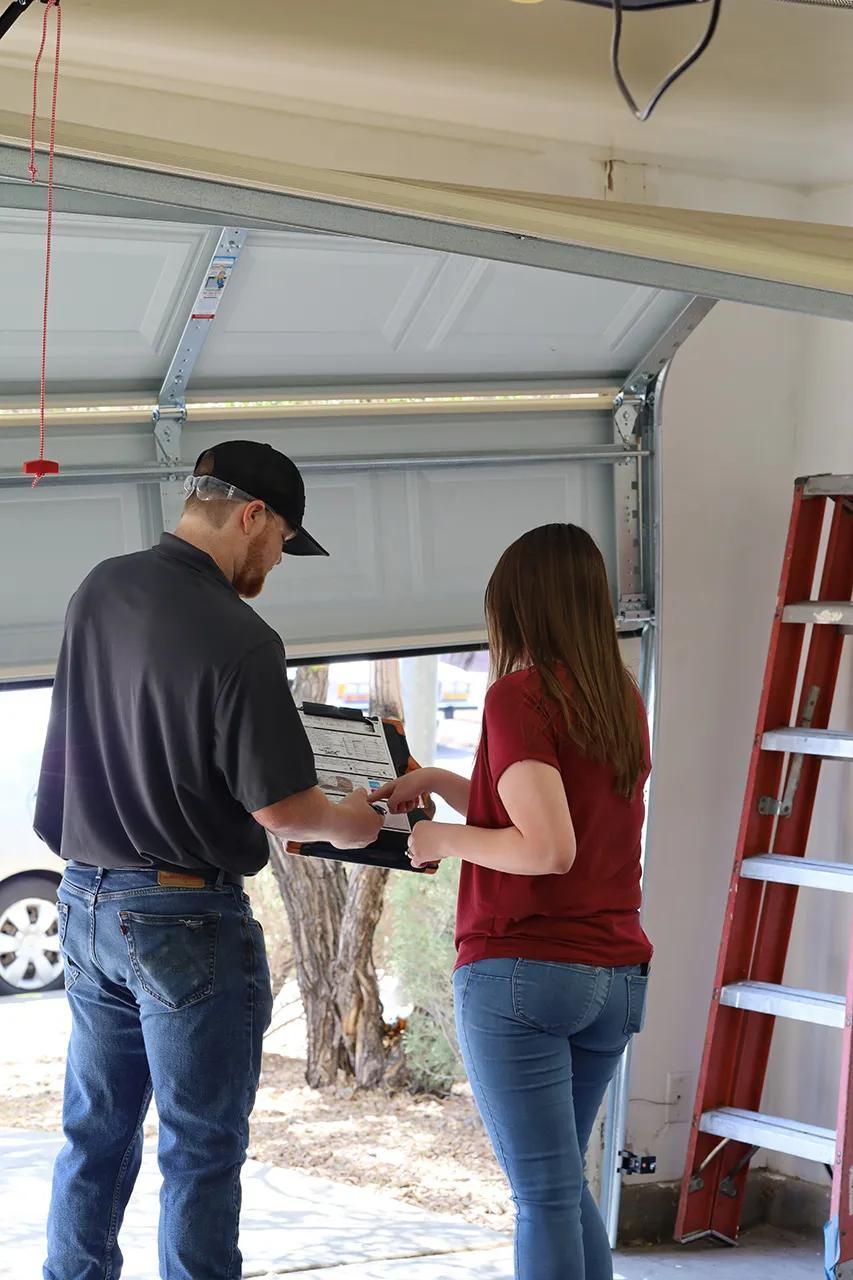
Written Repair Estimate
After the inspection, you get an itemized estimate listing parts and labor for the recommended fix. It is delivered on site, never over the phone, and it stays in your hands whether you approve the work today or later.
SENSORS
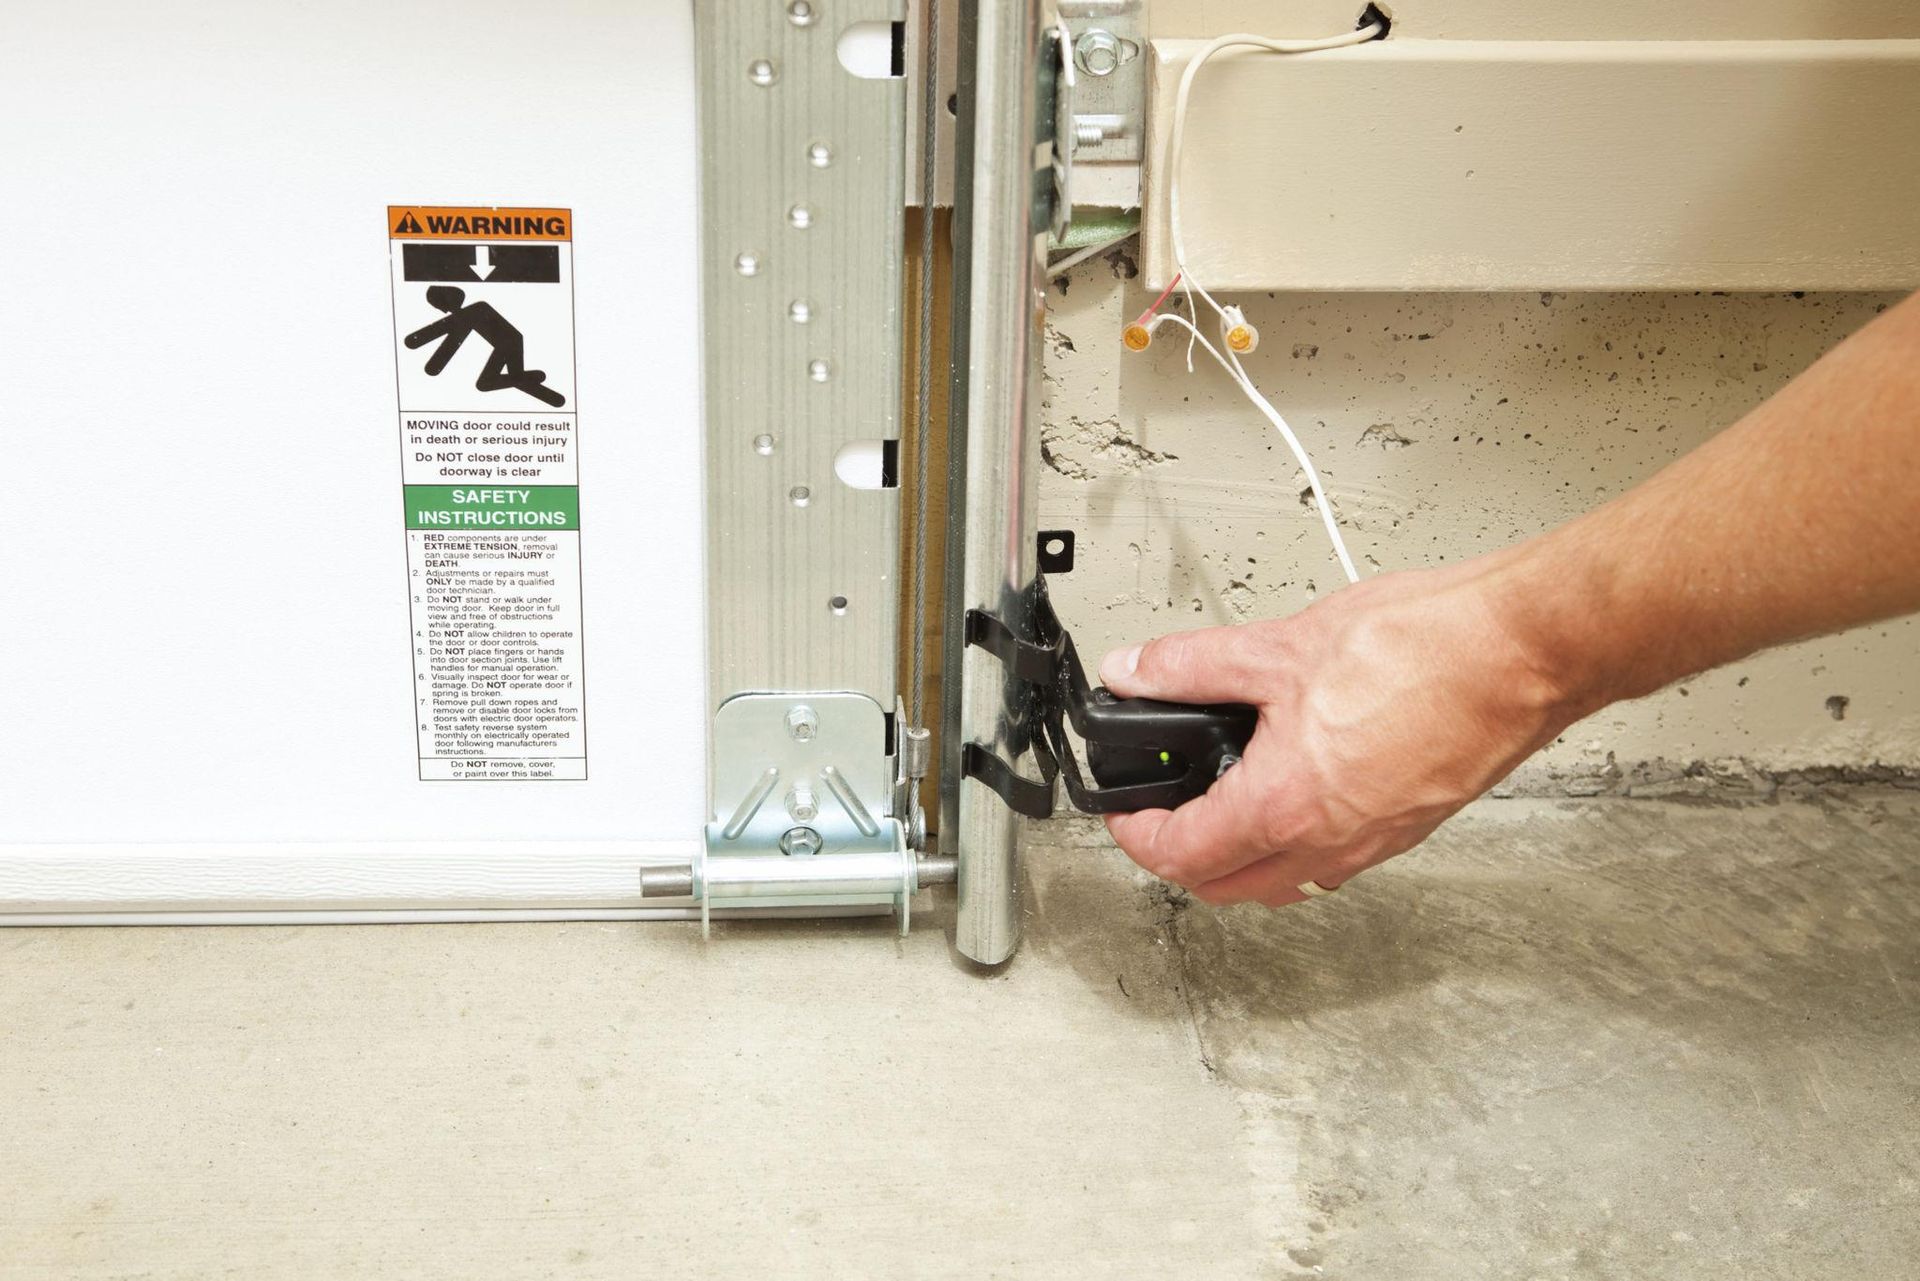
Sensor Realignment
Photo eyes knocked out of line by a rake, a bike, or a car bumper stop the door cold. We realign both lenses, tighten the brackets, confirm they sit no higher than 6 inches, and clean away dust or cobwebs.
SEALS
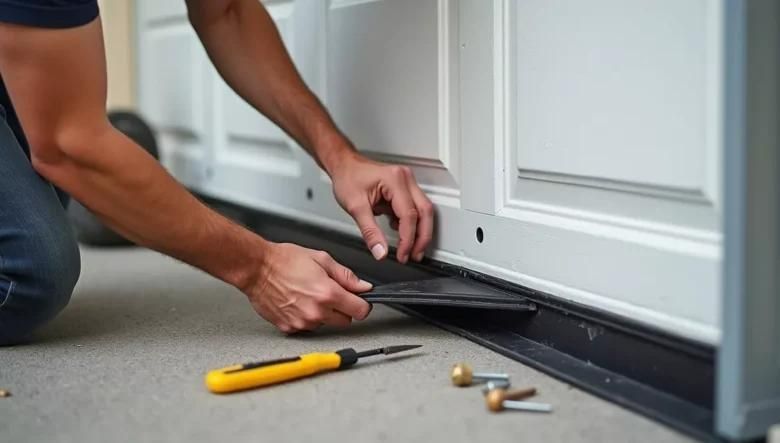
Weather Seal Replacement
Cracked bottom seals let in rain, leaves, and mice. We pull the cracked rubber from the retainer, slide in a fresh strip sized to your door, and check the perimeter stops so light no longer shows around the edges.
OPENER
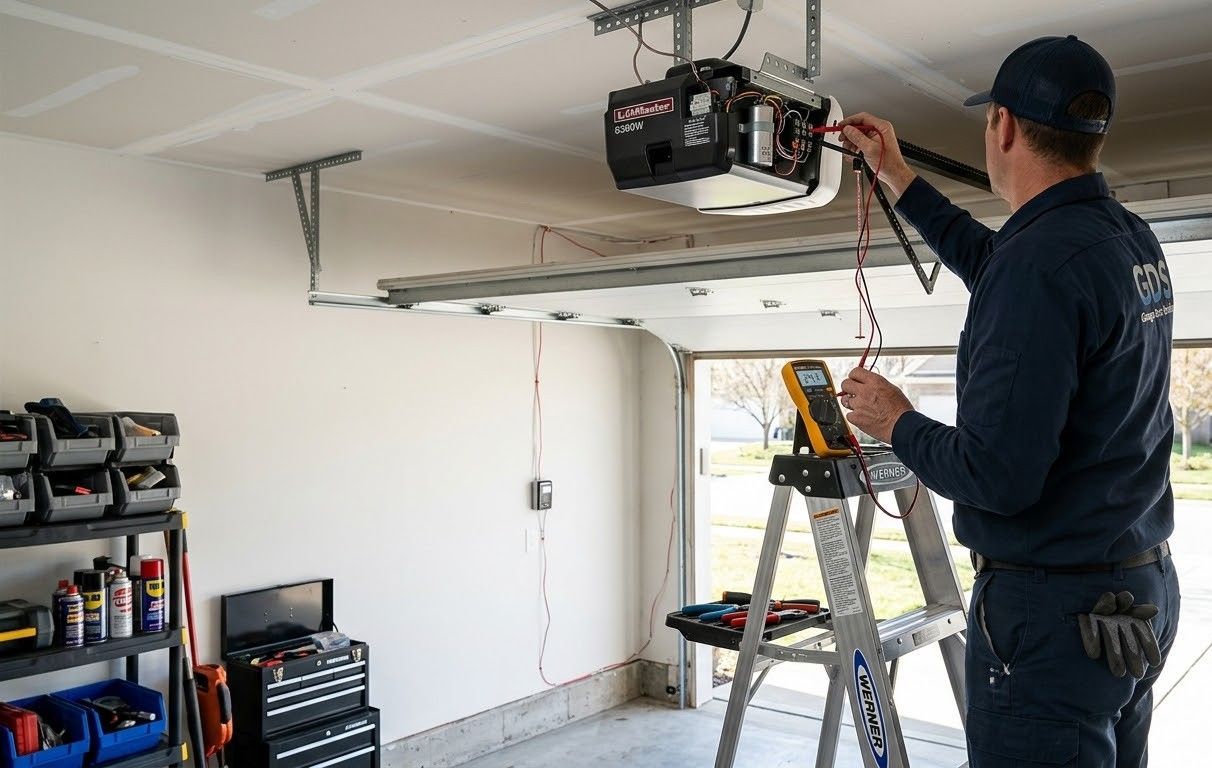
Opener Troubleshooting
Remote dead but wall button fine? Clicking without movement? We test the logic board, gears, travel limits, remotes, and keypads, reprogram what has lost memory, and replace failed components on LiftMaster, Genie, and other major opener brands.
SAFETY
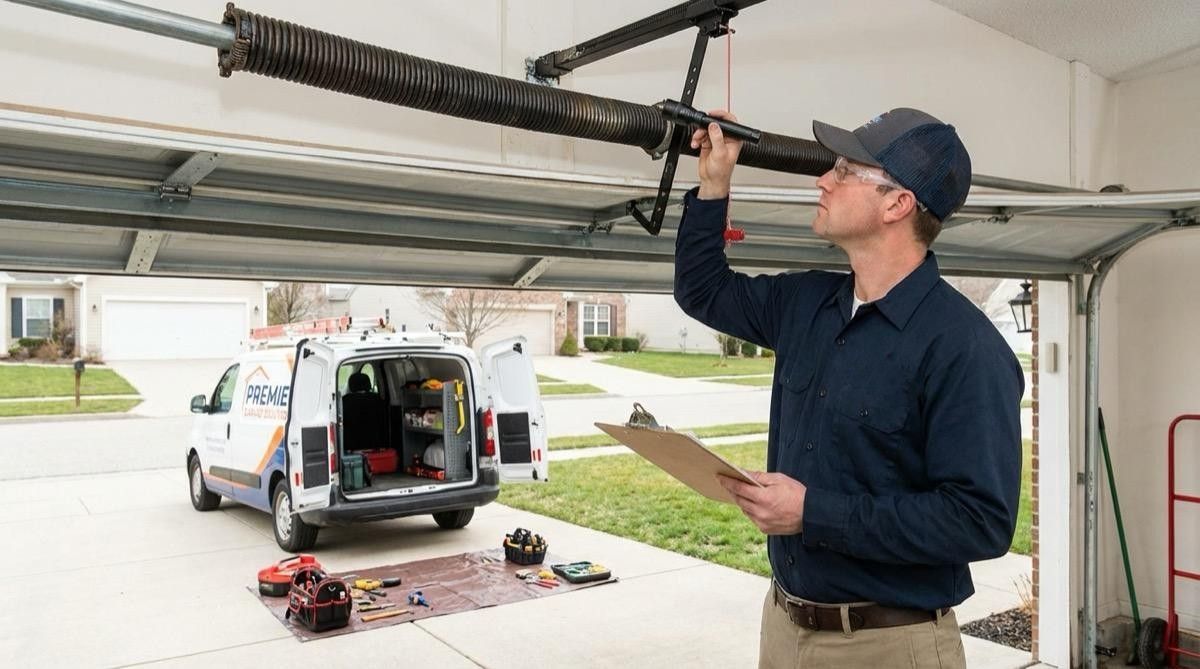
Final Safety Check
Wrapping up, we run the auto-reverse test with a 2x4 laid flat under the door, confirm the photo eyes stop travel, and check balance by hand. The door must pass every check before we pack up the ladder.
Real Reviews · Real Customers
WHAT OUR CLIENTS SAY.
Reviews below come from homeowners who trusted us with the front of the house. Read what they say about install day, the finished look, and how the door runs months later, then compare it with our 5-star Google rating before you book your estimate.
faq
frequently asked
questions.
Plenty of these questions come up at the door itself, often while someone is holding a remote that suddenly stopped working. Here are straight answers to the ones we hear most.
What does a garage door service call include?
A service call includes a full inspection of the door and opener, a diagnosis, and an estimate before any work begins. At Welcome Home Garage Doors, we give that estimate in person across Cincinnati, OH, with parts on board.
Why does my garage door go back up when closing?
Blocked or misaligned photo eyes cause most of these reversals. Something in the beam, a bumped bracket, or sunlight hitting a lens can trigger the auto-reverse. Worn rollers or a mis-set close force setting can do the same.
How do I realign garage door sensors?
Loosen the wing nut on one sensor bracket, pivot the lens until its indicator light glows steady, then tighten it again. Both eyes should face each other squarely and sit no higher than 6 inches off the floor.
Why is my garage door sensor light blinking?
Usually, a blinking sensor light means the two photo eyes cannot see each other. Dirty lenses, a knocked bracket, a damaged wire, or direct sun can break the beam. Some openers also blink to signal a code.
What should I check before calling for garage door repair?
Start with the obvious: power to the opener, remote batteries, the lock switch on the wall console, and the photo eyes. Also look for a visible gap in a spring coil or a loose cable, and never force the door.
Why does my garage door open by itself?
Stuck buttons on a remote, a failing wall console, or a neighbor's remote on a shared frequency can trigger random openings. In Cincinnati, OH garages with older openers, we at Welcome Home Garage Doors often trace it to shorted wiring.
How do you replace the bottom seal on a garage door?
Slide the old rubber strip out of the aluminum retainer along the lower edge, measure the width, and feed in a matching seal. Trim the ends flush. Wood doors often use a nailed-on seal instead of a retainer.
Why does my garage door work with the wall button but not the remote?
Dead batteries are the usual culprit. Beyond that, the lock or vacation mode on the wall console may be engaged, the remote may have lost its programming, or the opener's antenna may be damaged or tucked out of range.
LEARN MORE →
HOW WE WORK
FROM BOOKING TO BACK IN SERVICE, HERE IS HOW.
STEP 01
Book a Time Online
Choose a slot through the booking form and describe the symptom in a sentence or two. A clunk, a stall, a blinking light: whatever you noticed helps us stock the van for your specific door and opener.
STEP 02
Arrive with Parts Loaded
Loaded before we leave the lot, the van carries rollers, cables, sensors, seals, springs, and opener components. That preparation turns a diagnosis into a completed repair on the first trip far more often than not.
STEP 03
Test Every Component
Loaded before we leave the lot, the van carries rollers, cables, sensors, seals, springs, and opener components. That preparation turns a diagnosis into a completed repair on the first trip far more often than not.
STEP 04
Explain and Estimate
You hear the diagnosis in plain terms and receive the repair estimate in person. Questions are welcome, and none are too basic. Nothing moves forward until you approve, and declining costs you only the service call itself.
STEP 05
Make the Repair
With your go-ahead, we replace or adjust the failed parts on the spot, then recheck the whole door. Most fixes wrap up before we leave, because the needed components were already sitting in the van.
STEP 06
Show You the Results
Finally, we demonstrate the door, run the 2x4 reverse test, and walk you through what we did and why. You also get a short list of habits that head off the next service call.